Sharpening a knife is no simple culinary feat. To effectively sharpen a knife, you must be well-aware of the appropriate sharpening technique to avoid damaging your knife. Moreover, the technique is one thing and the type of knife you are sharpening is another.
When it comes to sharpening serrated knives, I guess you’d have to put a little more effort since it would require you to carefully apply the proper sharpening technique to get each tooth sharpened.
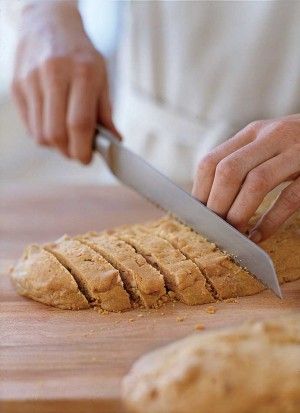
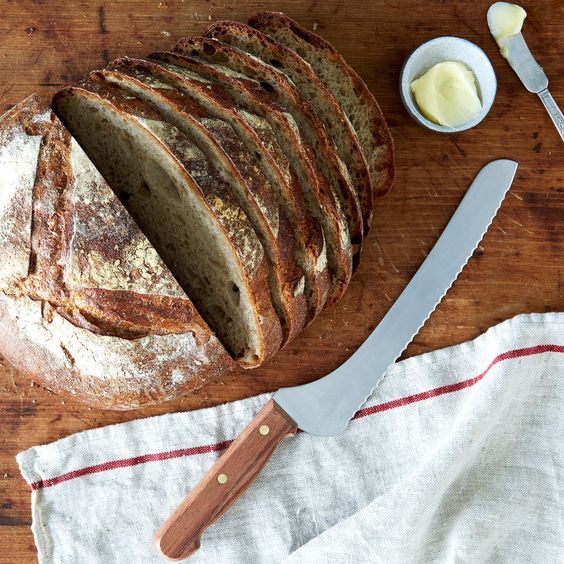
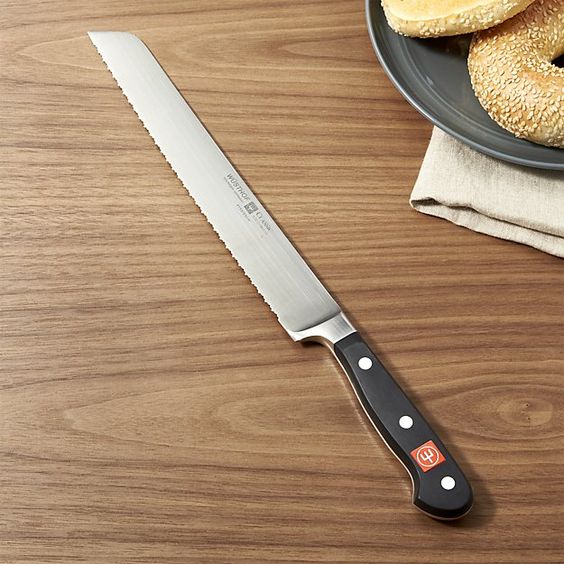
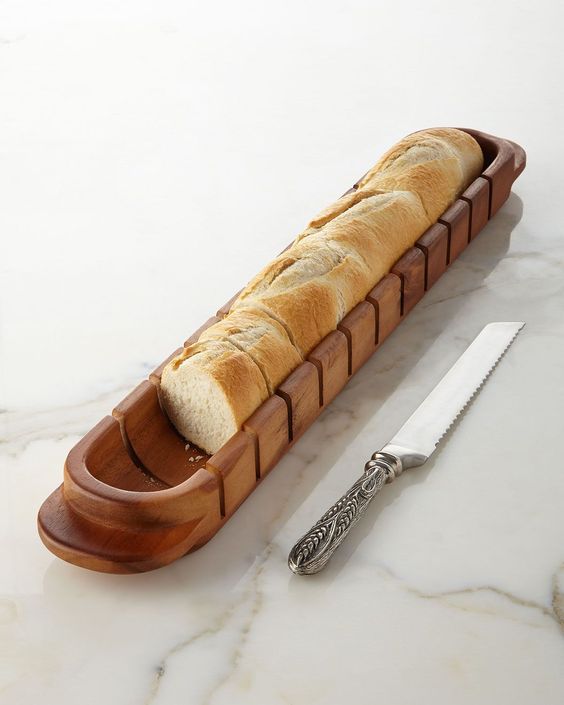
One type of serrated knife that should be kept sharp at all times is the bread knife. If you’d like to learn how to sharpen a bread knife, you have come to the right place. Read on and figure out in our simple guide below, and by the end of this article, you will have what it takes always to keep your serrated knives sharp.
What Makes A Knife Dull?
Before we get into the how-tos of sharpening a bread knife, let us first discuss what can actually make any knife go dull.
To understand how a knife can get dull, you must first know what knives are made of. The most common material used for making knives is steel. You can consider the steel that comes with knives as a form of metal that has layers.
When subjected to contact with certain types of materials such as wood and plastic, the edge of the steel blade connected to the knife gets dull. Once the knife has undergone sharpening, its inner layers will be brought to the surface and the whole knife will be ready again for cutting.
Another thing that can make your knife unreliable when it comes to cutting and slicing is the misalignment. When the blade of your knife is misaligned, having a sharp edge is irrelevant since you won’t be able to cut through food properly.
When a knife’s blade I misaligned, that’s where honing comes in. Honing is a completely different method with a significantly different effect on the knife as opposed to sharpening.
Honing VS. Sharpening
If you have any clue about the maintenance tools for knives, you must have noticed the whetstone and the honing rod.
A whetstone is what chefs often used to sharpen a knife. Constantly grinding the knife’s edge on the whetstone peels back the dulled layers and brings out a new and sharpened layer. The whetstone is an effective knife sharpening tool. I recommend using it on your knives for sharpening at least twice a year.
The honing steel, on the other hand is the tool of choice when is comes to aligning the blade of the knife. Honing steel are often mistaken for being a knife sharpener because it is frequently used by chefs before using a knife.
What the honing steel does is that it gently corrects the edge without shaving off plenty of the metal’s layer. Once properly done, the knife’s blade will be in its proper placement and will be very capable of easily cutting through food.
How to Tell If Your Knife Is Sharp
To avoid over sharpening your knife, you must know how to find out if your knife is still sharp.
One technique I have always found reliable when determining the sharpness of my knife is the tomato test.If your knife can easily cut through a tomato’s tough skin, it’s probably sharp enough to use on other foods as well.
Another test you can try is the paper test. Try holding up a sheet of paper with one hand and cutting it with a knife using your other hand. If the knife effortlessly cuts through the paper, chances are it’s sharp enough to seamless cut through all sorts of food.
How To Keep Your Knife Sharp
Unfortunately, there is no way to keep your knife completely sharp at all times. Maybe the only thing that can keep it’s edge sharp is not using it at all.
But in a practical sense, you can always keep your knife’s sharp edge for a longer time if you refrain from using it on certain materials, especially wood and plastic.
Another thing that can dull your knives is the storage space. If your knives are always banging with other types of steel, there’s a large chance of your knives getting dulled. To avoid this, you may have to get an appropriate means of storage such as a knife block.
The last thing you can do to keep your knife sharp at all times is constant honing. You may think that you should keep on sharpening your knives before you use them, but that’s actually wrong.
Sharpening should be kept to a minimum. Twice every year should be enough. As for honing, it’s best to keep honing your knife before using them to keep their blades aligned. Completely aligned blades can also help prolong the sharpness of a knife’s edge.
What You Will Need
To achieve the best results when it comes to sharpening a bread knife, you only need to prepare one thing:
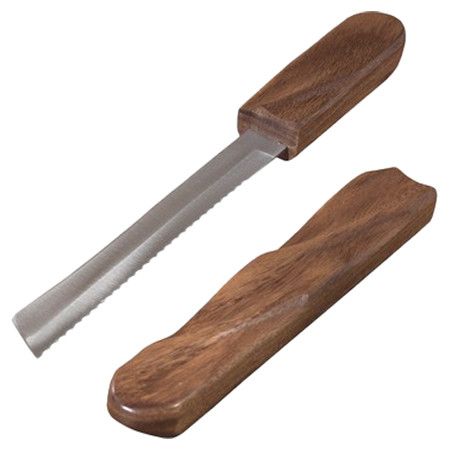
A Ceramic Sharpening Rod
To effectively sharpen a bread knife, or any kind of serrated knife for that matter, you will only need a ceramic sharpening rod.
If you don’t have a ceramic sharpening rod, I suggest picking up one from your local supermarket.
When choosing a ceramic sharpening rod, you would have to consider the size of the serration in your knife’s blade. The ideal ceramic sharpening rod should have a diameter that matches your knife’s serration.
An 8-millimeter rod is often the best choice for most bread knives. But if that size isn’t available, you can also look for ceramic sharpening rods with diameters up to 13 millimeters.
Instructions You Should Follow
Once you have prepared the materials you need for sharpening your bread knife, the next thing you should do is carefully follow these simple steps.
- Step 1: Clean Your Knife
The first thing you need to do when sharpening your bread knife is to make sure that your knife is completely clean. Having bread crumbs or other things stuck to your knife will only lead to ineffective sharpening.
Try to clean your knife by washing it with a scrub pad and running it under water. Also, pat or wipe your knife dry with a clean cloth before you proceed to sharpen.
- Step 2: Clean Your Ceramic Sharpening Rod
Before you proceed to sharpen your bread knife, you should also clean your ceramic sharpening rod before hand.
When being used for sharpening, the ceramic sharpening rod can accumulate small steel particles and can become all clogged up. When this happens, it wouldn’t be a hundred percent effective when sharpening a knife.
Simply clean your ceramic sharpening rod by wiping it with a dish sponge and some soap and rinsing it with water.
Also, remember to keep your ceramic sharpening rod dry before you use it on your knife for the best result.
- Step 3: Identify The Side To Be Sharpened
The next thing you should do is determine which side of your knife’s blade should be put against the honing steel.
The side you should sharpen is commonly found on the knife’s right side when you are holding the handle of the knife. Simply look for the side where the serration have been set and use that side to grind against the honing steel.
- Step 4: Use The Ceramic Sharpening Rod
Once you know which side of your knife should be sharpened, the next step you should take is sharpening with the ceramic rod.
The best way to sharpen a bread knife is by laying it on a flat surface with the side you should sharpen facing up. After doing so, simply run your ceramic rod through each serration while you're holding it at a slanted angle.
Continue to run the ceramic sharpening rod through each serration in its full length for best results.
- Step 5: Rinse Your Knife
After sharpening your knife, the last step you should take is getting rid of the shredded layers of steel. You can easily do this by rinsing your knife and wiping it clean with a dry piece of cloth. You can also try cleaning it with some dish soap if you like.
A Quick Recap
Sharpening a bread knife can end up completely wrong when the wrong tool is used. Remember that the ideal tool for sharpening serrated knives is a nice ceramic sharpening rod. Also take note that you don’t need to sharpen your knives often, a good sharpening session or two each year will do you just fine.
If you have any questions about this article, please do not hesitate to ask me and leave your feedback in the comment box below. I’ll try to get back to you as soon as I can, thank you!