Black rice has recently become the new trend in rice, making its way around the food blogs (like in this recipe from Ambitious Kitchen) and nutrition sites. I’ve learned that black rice is extremely versatile; you can use it in both sweet and savory dishes, which means a big batch of it has a lot of uses.
Black rice is also reported to have numerous health benefits (thanks to PositiveHealthandWellness.com for this great nutrition infographic), so I had to try it out for myself and share it with you all.
You can cook black rice on the stovetop (this video will show you how), but after years of getting inconsistent results on the stovetop, I purchased a rice cooker, and it is by-far the best way to cook any type of rice.
Ready to try your hand at making black rice? Follow my easy, step-by tutorial on how to cook black rice in a rice cooker and you’ll get tasty results every time.
What You’ll Need
- A rice cooker (see note below)
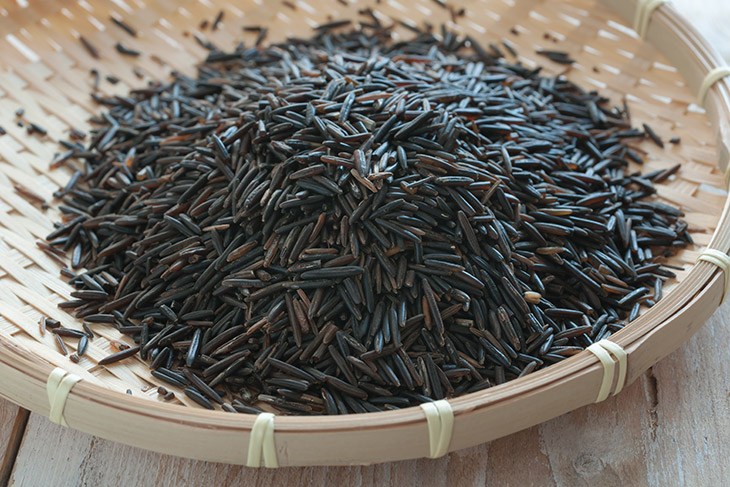
- 1 cup uncooked black rice (will result in approximately 1 ½-2 cups of cooked rice)
- A fine mesh strainer or colander with small holes
- 2 ¼ cups water
- Salt and pepper (optional, omit if planning to make a sweet dish with the rice)
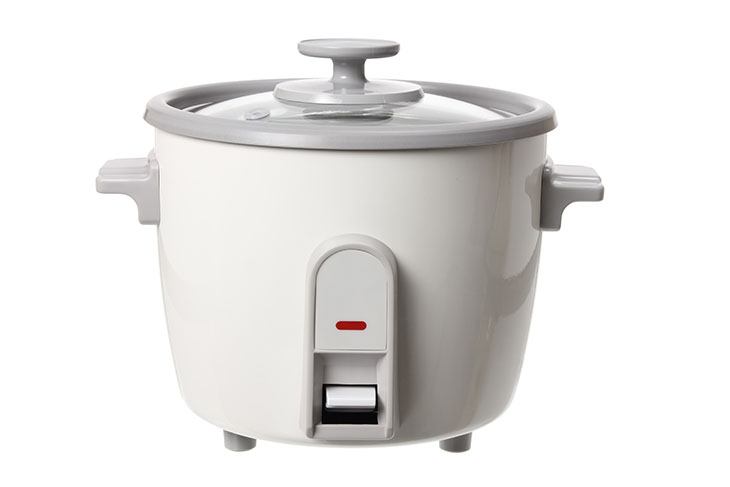
A note about rice cookers:
Rice cookers come in various sizes, or capacities. A 3-cup rice cooker is designed to properly cook small batches of rice, while a 10-cup rice cooker will cook large batches of rice perfectly (all very logical). If you have a large capacity rice cooker, you’ll want to double or triple this recipe, since your rice cooker isn’t designed to cook such a small amount of rice.
Step by Step Instructions
Step 1.
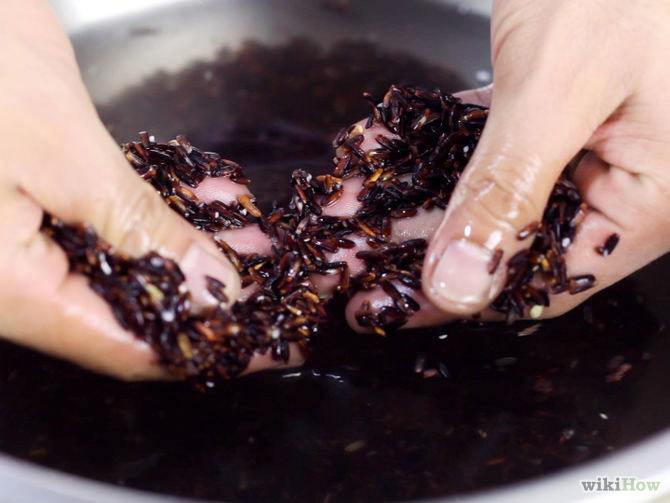
Rinse and Drain the Rice to Remove Excess Starch
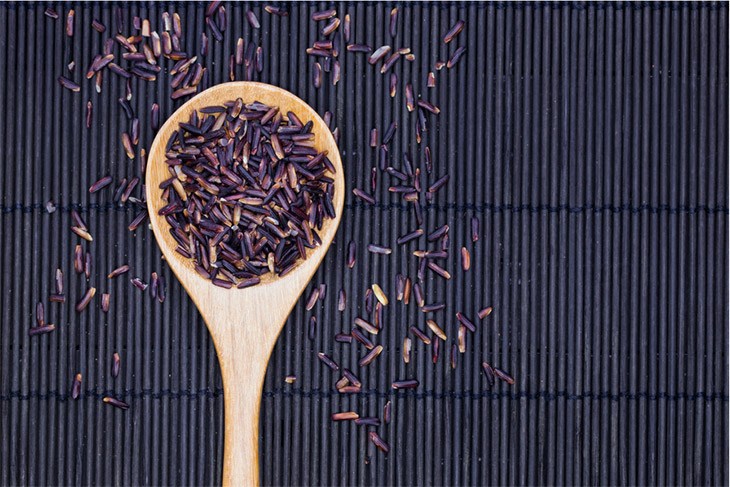
Place 1 cup of black rice (I like this one) into a fine mesh strainer or colander with small holes.
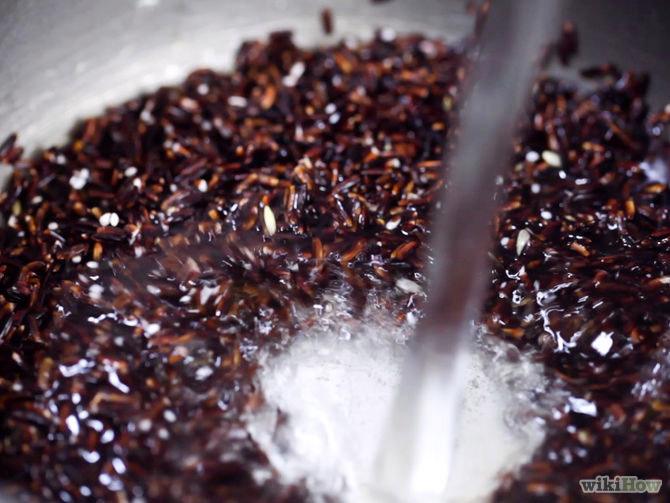
Place the strainer (with rice in it) under cold running water. Stir the rice up with your fingers a little, to ensure that all of the rice gets rinsed. You will see purplish/black water coming off of the rice; continue to rinse the rice until the water has less color or is clear.
Turn the water off and shake the strainer to remove excess water. You can also stir the rice up with your fingers a little to let any extra water out.
Pro Tip:
Don’t skip this step. Black rice is very starchy, so you must remove some of the starch before putting it in the rice cooker. Otherwise, you’ll end up with very gummy rice.
If you don’t have a fine mesh strainer, put your colander over a large bowl while rinsing your rice. That way, any rice that slips through the holes of your colander won’t go down the drain.
Need to purchase a mesh strainer? Get this three-piece set from LiveFresh for less than $.
Step 2. Add the Rice to Your Rice Cooker
Take the strainer over to your rice cooker and simply dump the rice from the strainer right into the cooking pot of your rice cooker. If you see a lot of extra water from the rinsing step, try to soak it up with a paper towel. A little extra water is okay, but you want to avoid too much excess starchy water.
I keep the cooking pot of my rice cooker inserted into the exterior pot while I do this. There’s no need to remove the inner pot during prep.
Step 4. Add Water to the Rice Cooker
Measure out your water and pour it into the rice cooker, right over the rice.
Pro Tip:
If you are working off of a different recipe that is for cooking a large amount of black rice, be sure to add about ¼ cup of extra water to the rice cooker. Black rice still has its hull (as opposed to white rice), so it requires more water to cook it to the right texture.
Step 5. Add Seasoning to the Rice/Water Mixture
If you’re planning to make a savory dish with your cooked black rice, now is the time to add salt and pepper. There is no right or wrong amount to add; season to taste as you would white, brown, or wild rice.
Step 6. Plug in Your Rice Cooker and Set to Cook for 30 Minutes
Put the lid on your rice cooker, plug it in, and set the time for 30 minutes. Alternately, if your rice cooker has a Brown Rice setting, you can use that, since both brown rice and black rice have intact hulls and require similar cooking times.
Pro Tip:
If you’re new to rice cookers, watch this quick video from WebstaurantStoreto learn about rice cooker measurements, settings and, and best practices.
Step 7. Let the Rice Sit After Cooking

I like to let the rice sit in the rice cooker, covered, for 5-10 minutes after it has finished cooking. This is pretty standard for cooking rice on the stovetop, too. It allows the rice to absorb the extra moisture that has built up inside of the cooking pot.
Rice cookers are great about adjusting the temperature so that your rice doesn’t overcook, so don’t worry about this extra 5-10 minutes making your rice mushy.
Step 8. Stir, Serve, and Enjoy!
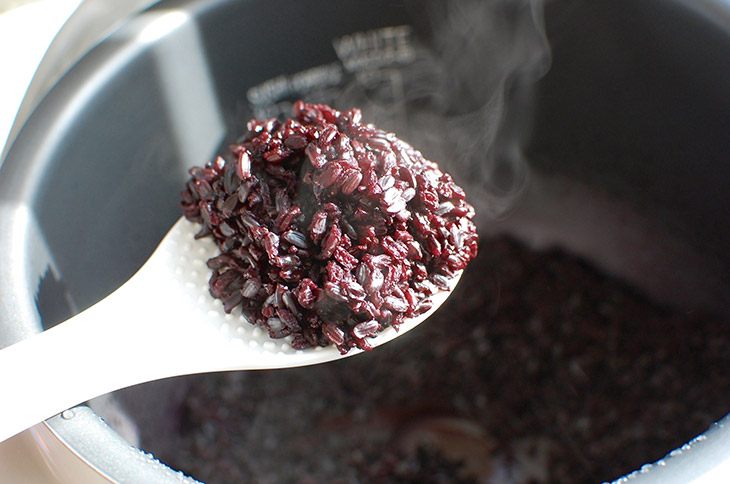
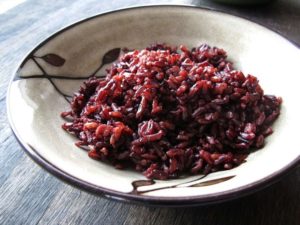
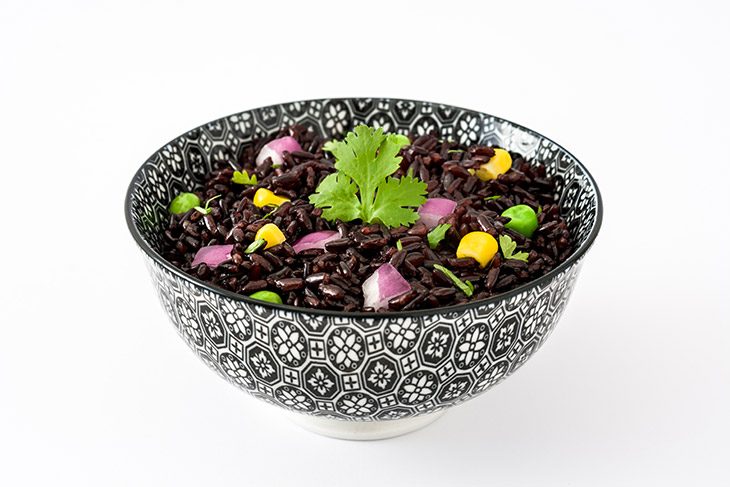
After the rice has sat for a bit, remove the lid from the rice cooker, let the steam escape, and stir the rice. Now you are ready to serve your rice! Here’s a beautiful photo of some fully cooked black rice, courtesy of The350DegreeOven.com.
Black Rice: As Easy as Any other Rice!
I love that black rice is both tasty (it has a nutty taste) as well as a powerhouse of nutrition. At first, I was worried that it would be harder to cook than standard white or brown rice, but I’ve been pleasantly surprised at how easy it is.I’ll definitely be cooking more of it.
I hope that you have found this tutorial helpful. Give it a try, and have fun experimenting with new flavors and dishes that go well with black rice, like this Thai Black Sticky Rice Dessert from TheWoksOfLife.com.
If you have questions or want to add your tips for how to cook black rice in a rice cooker, leave me a comment. You can also recommend your favorite black rice or rice cooker.
ADDITIONAL RESOURCES:
https://draxe.com/forbidden-rice/
http://cleancuisineandmore.com/the-healthiest-rice-in-the-world-makes-the-easiest-side-dish/
http://www.gourmetsleuth.com/articles/detail/how-to-select-a-rice-cooker